# Applications
# Creating or Opening an Application
To create a new application:
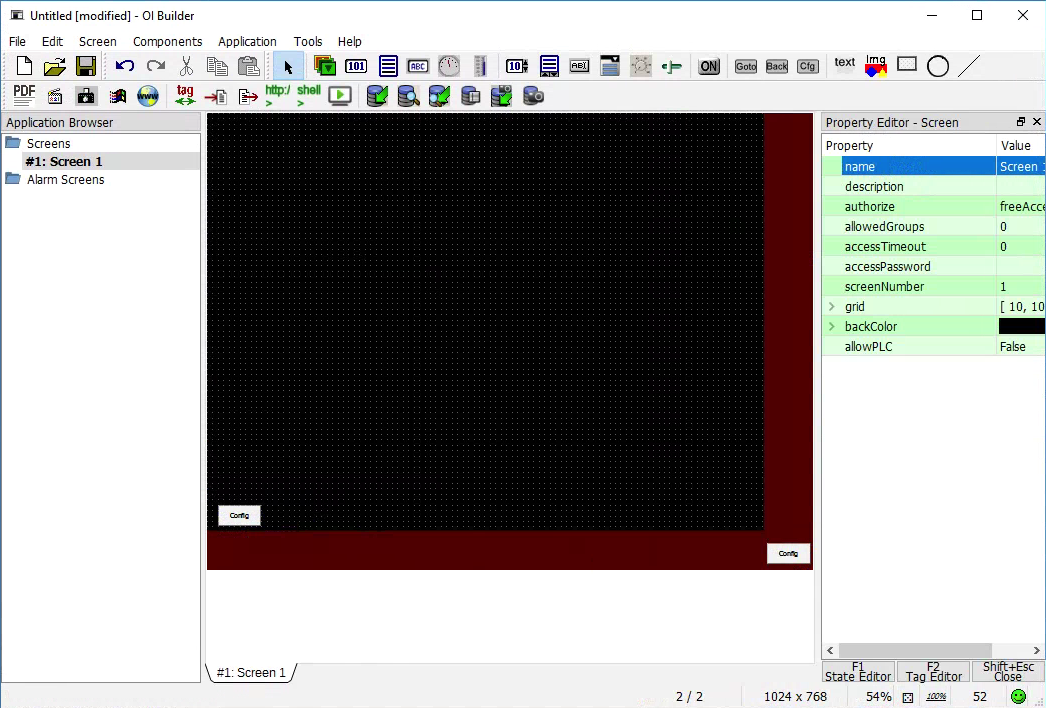
- Open OIBuilder on your desktop computer, it will default to a new application
- Use the File->New menu item or the New Application toolbar item.
TIP
Be sure to include a Goto-Config button on your new application.
Similarly, you can open existing applications using the Open button or menu items.
# Name and Description
The application name and description are shown in the top left of the config screen. These are set in OIB by going to Application->Description in the menu bar.
# Settings
There are a number of settings that may be configured for an application. To adjust these settings, select the 'Applications' menu in the menu bar and choose the 'Settings' item.
# Screen Settings
- Collapse Error Window by Default: when checked, the Error Bar will be collapsed by default.
- Screen Resolution - the resolution of the application can be changed here. The default value 1024x768 is the native resolution of OI-15v1 through OI-15v2.1. OI Currently supports 1024x768 and 1920x1080. See Changing Screen Size for more information.
- Startup Screen - This is the screen number that will be displayed when the OI terminal enters run-mode.
# Config Screen Access
These fields allow setting authentiction requirements in order to allow config screen access. See User Access for more information.
# Status Tags
OI Status Tags allow the OI to set tag values based on OI Runtime system values. This lets a device like a PLC see the "status" of OI.
- Screen Number: will write current screen number to this tag
- Year, Month, Day, Hour, Minute, Second: will write current date/time values to these tags.
- User ID, User Name, User Groups: when authorized, these are set to the current values. See User Access for more information.
# Control Tags
OI Control Tags allow the OI to read values from other devices (like a PLC) and use those values throughout the OI system. This lets a device like a PLC "control" OI.
- Screen Number: will change the screen to this screen number when changed and non-zero.
- Year, Month, Day, Hour, Minute, Second: will set OI date/time values to these tags.
- Hide Screen Saver - when triggered and the screen saver is running, this will exit the screensaver.
- Screen Shot - when triggered, a screenshot of the current screen is taken and saved to the datacard with the name screen_YYMMDD-HHMMSS.png (2 digits for year, month, day, 24hr, minute, second).
- login, logout: display the login dialog or log out the current user. See User Access for more information.
# Screen Resolutions
OI supports 2 native screen sizes which are different aspect ratios. When changing between the two, OIB can automatically adjust components. These options are shown when Change Screen Size is pressed in the Application Settings->Screen tab.
# Supported Resolutions
OI Supports 1920x1080 (1080p, FHD, 16:9 ratio), and 1024x768 (XGA, 4:3 aspect ratio)
# Resize and Reposition Components
There are 5 options for automatically resizing and repositioning components:
- none - perform no changes
- Stretch all components - components are stretched and moved proportionally to the difference between the aspect ratios.
- Stretch all components except images - same as above, but image components are moved but not stretched.
- Resize but do not stretch: Scale to Fit - components are moved, resized, but not stretched.
- Resize but do not stretch: Scale to Fill - components are moved, resized, but not stretched.
The last two options are similar but subtly different as shown here:
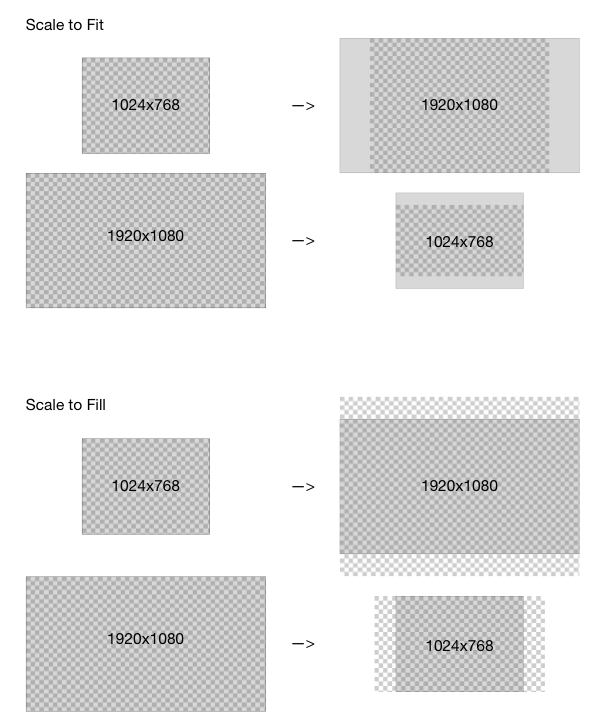
# Scale to Fit
This "fits" the contents of the old resolution into the new resolution. Similar to going from SD to HD and leaving black bars on the sides of the screen (bars on top/bottom if going from HD to SD).
# Scale to Fill
This stretches to fill out the new resolution. Some components may be placed outside the visible screen area and will have to be moved back into place.
# OIB Display Tools
OIB provides a few subtle tools to help use off-screen components and higher resolutions.
Note
This feature is available in OI versions 1.11 and newer.

# Current Screen Size
The first number indicates the current application resolution. In OIB 1.11 and newer, clicking this will show the Off-Screen Area settings for the current screen.
# Zoom
This shows the percentage zoom of the application. To zoom in or out, use Ctrl+Scrollwheel.
# Zoom Out Fit to Screen
Pressing this button will zoom out and fit the application's screen to the visible area.
# Zoom to 100%
Pressing this button will return zoom to 100%.
# Off-Screen Area
New in OI and OIB 1.11, screens can have areas outside the visible space. Primarily used to assist resizing using Scale to Fill, these areas can be used to place components that should not be displayed in runtime.
To configure, go to the Screen->Configure Off-Screen Area Size menu item (or click on the application's resolution in the status bar).
Offs-screen area is indicated with a red background in OIB.
# Off-Screen Components
If a screen has any components off-screen, an arrow will be displayed beside the screen name in the Application Browser.

# Transferring Applications in OIB
OIB can transfer applications to OI's directly using FTP. Under the File menu select either Open From->OI via FTP or Save To->OI via FTP
# USB
You can also copy all the application's files to a USB stick and selecting Transfer Application from the OI Terminal's config menu after inserting the USB stick into the terminal.
TIP
When copying to USB, be sure to copy all the application's files and directories. OIB automatically creates a copy and pre-pends the filename with the application's base filename. An application named testapp.oi will have images saved as testapp___image.png
# OIB Application Cleaner
OIB includes a tool to clean common inconsistencies in OI application file. Many of these cannot be cleaned through interfaces in OIB, but can be cleaned by running Application -> Application Cleaner.
The application cleaner can:
- remove old weld monitor devices
- remove devices without assigned protocols
- remove image files that have been removed (filename matches the pattern for files that should be included but are not in the application's image collection)
Note
This feature is available in OI versions 1.11 Dec 2020 and newer.
← Alarms Communications →